Backing Up Your Amiibo With A Proxmark3
A guide for backing up your Amiibo using a Proxmark3 including emulation and writing out to a blank NFC card.

Introduction
If you own a (relatively) recent Nintendo console you probably have a handful of Amiibo or more than a handful if you play competitive Smash. I own a few myself and started to think about what I would do if I lost one of them. So I started looking into ways to back up an amiibo and found some guides but I don't own an Android phone or an N2 Elite so I couldn't really follow them.
What I do have is a Proxmark3 which is an RFID research/development tool. It's commonly used on Red Team deployments where you need to copy a badge in order to get into a building. Though, per the Wiki, "this device can do almost anything involving almost any kind of low ( 125 kHz) or high ( 13.56 MHz) frequency RFID tag".
Since Amiibo use the NTAG standard they're effectively NFC devices so I can use the Proxmark3 to interact with it. After a bunch of googling I found some great resources for learning more about the inner workings of Amiibo and emulation with a Proxmark3. However none of them were really a guide for backing up an amiibo so I decided to write one myself.
I would highly recommend taking a look at the posts above, they were extremely helpful in figuring out the backup process. Especially on the emulation side of things.
Prerequisites
- An amiibo that you own. Disclaimer: Only perform these steps on an Amiibo that you own.
- A Proxmark3 running the Iceman build. I'm using a Proxmark3 Easy which is a lower cost version of the Proxmark3 but it's also less capable. The latest version is the Proxmark3 RDV4. Be warned, they're not cheap.
- This will not work with the Proxmark Pro since it doesn't support the Iceman build.
- PyAmiibo. This is used for changing the UID of the bin file if you want to write out to a NTAG215 card
- I would recommend installing from source and using a Python virtual environment. I had some issues installing it with pip.
- Blank NTAG215 cards. You can get these from a variety of places. They also come in tag/sticker form.
- A Hex editor. I like Hex Fiend personally.
- Comfort with the command line.
As of the time of this post here's the version of the software/firmware I'm using.
[=] Session log .proxmark3/log_20200810.txt
[=] Loading Preferences...
[+] loaded from JSON file .proxmark3/preferences.json
[=] Using UART port /dev/tty.usbmodemiceman1
[=] Communicating with PM3 over USB-CDC


  ██████╗ ███╗   ███╗ ████╗
  ██╔══██╗████╗ ████║   ══█║
  ██████╔╝██╔████╔██║ ████╔╝
  ██╔═══╝ ██║╚██╔╝██║   ══█║     ❄️  iceman@icesql.net ☕
  ██║     ██║ ╚═╝ ██║ ████╔╝    https://github.com/rfidresearchgroup/proxmark3/
  ╚═╝     ╚═╝     ╚═╝ ╚═══╝  pre-release v4.0


 [ Proxmark3 RFID instrument ]

 [ CLIENT ]
  client: RRG/Iceman
  compiled with Clang/LLVM 4.2.1 Compatible Apple LLVM 10.0.1 (clang-1001.0.46.4) OS:OSX ARCH:x86_64

 [ PROXMARK3 ]

 [ ARM ]
  bootrom: RRG/Iceman/master/0cb21c8 2020-05-04 14:10:51
       os: RRG/Iceman/master/0cb21c8 2020-05-04 14:11:02
  compiled with GCC 5.4.1 20160919 (release) [ARM/embedded-5-branch revision 240496]

 [ FPGA ]
  LF image built for 2s30vq100 on 2020-02-22 at 12:51:14
  HF image built for 2s30vq100 on 2020-01-12 at 15:31:16

 [ Hardware ]
  --= uC: AT91SAM7S512 Rev B
  --= Embedded Processor: ARM7TDMI
  --= Nonvolatile Program Memory Size: 512K bytes, Used: 260799 bytes (50%) Free: 263489 bytes (50%)
  --= Second Nonvolatile Program Memory Size: None
  --= Internal SRAM Size: 64K bytes
  --= Architecture Identifier: AT91SAM7Sxx Series
  --= Nonvolatile Program Memory Type: Embedded Flash Memory
Dumping The Amiibo Data
The first step is dumping out the amiibo data into a bin file. In order to do this you're going to need to get the PWD of the amiibo so you can authenticate to it. Thankfully the algorithm for generating the PWD has been reverse engineered and is built into the proxmark3 software. After plugging in your Proxmkar3 and starting the software run hf mfu pwdgen r with the amiibo on the reader.
[usb] pm3 --> hf mfu pwdgen r
---------------------------------
 Using UID : 04 53 5C 52 DA 5F 80
---------------------------------
 algo | pwd      | pack
------+----------+-----
 EV1  | 35E9574C | 0B54
 Ami  | ABD3A70F | 8080
 LD   | DD734D98 | AA55
 XYZ  | 34CA0092 | B974
------+----------+-----
 Vingcard algo
--------------------
The line you're looking for is the Ami line. Note down the string in the pwd column along with the UID as you'll need them for next few steps.
With the amiibo still on the reader run the command hf mfu dump f $filename k $pwd substituting out $filename with a unique name for the file and $pwd with the value you got from pwdgen. It will look something like this.
[usb] pm3 --> hf mfu dump f samus_og k ABD3A70F
[+] TYPE: NTAG 215 504bytes (NT2H1511G0DU)
[+] Reading tag memory...

*special* data


DataType  | Data                    | Ascii
----------+-------------------------+---------
Version   | 00 04 04 02 01 00 11 03 | ........
TBD       | 00 00                   | ..
TBD       | 00                      | .
Signature1| F3 61 F9 EA B2 AC 68 75 50 8D 70 8C 6D 10 01 3B | .a....huP.p.m..;
Signature2| C5 AA 10 0C 72 54 BF 4F 54 D2 6C FA BB D4 16 2E | ....rT.OT.l.....
Counter0  | 00 00 00                | ...
Tearing0  | 00                      | .
Counter1  | 00 00 00                | ...
Tearing1  | 00                      | .
Counter2  | 00 00 00                | ...
Tearing2  | 00                      | .
-------------------------------------------------------------

Block#   | Data        |lck| Ascii
---------+-------------+---+------
  0/0x00 | 04 53 5C 83 |   | .S\.
  1/0x01 | 52 DA 5F 80 |   | R._.
  2/0x02 | 57 48 0F E0 |   | WH..
  3/0x03 | F1 10 FF EE | 1 | ....
  4/0x04 | A5 00 00 00 | 0 | ....
  5/0x05 | 4B FE 9B 07 | 0 | K...
  6/0x06 | 27 B3 A5 69 | 0 | '..i
  7/0x07 | 55 A7 63 4F | 0 | U.cO
---cut for length---
132/0x84 | 5F 00 00 00 | 0 | _...
133/0x85 | AB D3 A7 0F | 0 | ....
134/0x86 | 80 80 00 00 | 0 | ....
---------------------------------
[+] saved 596 bytes to binary file samus_og.bin
[+] saved to json file samus_og.json
Congratulations! You've backed up your amiibo into a bin file. Now that you've got the bin file you can either emulate the amiibo using the Proxmark3 or copy the data onto an NTAG215 card.
Emulating The amiibo
Before we emulate the amiibo using the Proxmark3 we need to get the bin file into a format the NFC emulator can read. To do this we're going to use one of the built in LUA scripts: dumptoemul-mfu.lua. Make sure you're in the directory where you dumped your bin file and run script run dumptoemul-mfu.lua -i $bin-file.bin -o $eml-file.eml.
[usb] pm3 --> script run dumptoemul-mfu.lua -i samus_og.bin -o samus_eml.eml
[+] executing lua /usr/local/Cellar/proxmark3/HEAD-0cb21c8/bin/../share/proxmark3/luascripts/dumptoemul-mfu.lua
[+] args '-i samus_og.bin -o samus_eml.eml'
Wrote an emulator-dump to the file samus_eml.eml
Now that we have an eml file we can load it into the emulator memory using hf mfu eload u $eml-file. Make sure you don't include the file extension for this command. Depending on your software version you may see an error but I found it could be safely ignored.
[usb] pm3 --> hf mfu eload u samus_eml
[+] loaded 596 bytes from text file samus_eml.eml
[=] Uploading to emulator memory
.....................................................................................................................................................

[-] ⛔ Warning, Ultralight/Ntag file content, Loaded 149 blocks into emulator memory
Next is the emulation. You'll need the UID number from earlier. If you forget it you can put the amiibo back on the reader and run hf mfu info. The emulation command is hf 14a sim t 7 u $uid, swapping your UID for $uid.
[usb] pm3 --> hf 14a sim t 7 u 04535C52DA5F80
[+] Emulating ISO/IEC 14443 type A tag with 7 byte UID (04 53 5C 52 DA 5F 80 )
[=] Press pm3-button to abort simulation
After you run the command you'll be able to hold up your Proxmark3 to your Nintendo console of choice and it will be recognized as an amiibo. Depending on the version of your Proxmark3 hardware it may take some maneuvering to find the "sweet spot" of the antenna.
Backing up to an NTAG215 Card
Before I get into the nitty-gritty of this I want to mention that this process is a little more complicated than just emulating the amiibo. You need to be comfortable with the command line and using a hex editor as you'll be editing a bin file directly.
Still with me? Great, let's dive in! Much like before we're going to generate the PWD but instead of the amiibo on the reader you'll want to have the blank NTAG215 card on the reader. The command is the same as before: hf mfu pwdgen r.
[usb] pm3 --> hf mfu pwdgen r
---------------------------------
 Using UID : 04 04 C5 4A 90 6B 81
---------------------------------
 algo | pwd      | pack
------+----------+-----
 EV1  | 9A18242E | C5CD
 Ami  | E4008B44 | 8080
 LD   | 17FF17FE | AA55
 XYZ  | 788ECE59 | 037C
------+----------+-----
 Vingcard algo
--------------------
Note down the UID and the Ami pwd number as you'll be needing them later. You're also going to need the existing password for the blank card but the good news is that most blank NTAG215 cards have a default password of FF FF FF FF. When in doubt you can run hf mfu info and it will display the default password if it can find it.
Here's an example from the blank card I used. The section is named Known EV1/NTAG passwords.
[+] --- Known EV1/NTAG passwords
[+] Found a default password: FF FF FF FF  || Pack: 00 00
Next open up the bin file you dumped out earlier in your favorite hex editor. This file contains a little bit of cruft that you're going to need to remove before PyAmiibo recognizes it as valid.
The cruft is the *special* data that the Proxmark software appends to beginning of the bin file when it dumps out the data. We'll be putting back a variation on it later but for now it needs to get removed. It's the first 56 bytes of the bin file and ends with 00000000 00000000 00000000. Delete this string and save the file out, making note of the file name.

If you haven't installed PyAmiibo yet I would recommend installing it from source and using a virtual environment. I had some issues using it when I installed it using pip.
In order to use PyAmiibo you will need two master key files commonly named unfixed-info.bin and locked-secret.bin. These are not provided in the PyAmiibo package nor will I be providing them. If you are interested in the incredibly convoluted Amiibo crypto system I would recommend giving this a read.
Once you get PyAmiibo installed changing the UID is pretty simple. The syntax is amiibo uid $dumped-bin $uid $new-bin subbing out $dumped-bin with the file you edited in the hex editor, $uid with the UID of the NTAG215 card, and $new-bin with the new filename. For example: amiibo uid ../../samus/samus_2.bin 0404C54A906B81 ../../samus/samus_new_uid2.bin.
Make sure you note the name of the new bin file you created as you'll need it for the next few steps.
Put the blank NTAG215 card is on the reader and run hf mfu restore k FFFFFFFF f $new-bin. If your card does not have a default key of FFFFFFFF then swap it out for the default key. This will put the contents of the bin file onto the blank card....kinda.
Remember that *special* data from earlier? The data from the bin file isn't being put in the right places on the card because those extra 56 bytes aren't in the bin file. In order to get around this you need to dump out the data from the card, copy the first 56 bytes and append them to the beginning of the bin file you created with PyAmiibo. Thankfully this is pretty easy.
First dump out the card with the command hf mfu dump f $filename k FFFFFFFF with the filename of you choice. I used card_grab_header because that's exactly what I was doing. Open the bin file you just dumped out and the bin file you created with PyAmiibo in your favorite Hex editor. Grab the first 56 bytes from the dumped bin file and append them to the PyAmiibo bin file. Then save it out, preferably with a new name.
For example here's the two files side by side in Hex Fiend.

Back in Proxmark land we're going to write the bin file data to the card again using hf mfu restore k FFFFFFFF f $new-bin-header. Make sure you're using the file with the "header" data in it. Most of the the data should be written to the right places now, just a few blocks need to be rewritten. We're in the home stretch now!
Without going too deep into the NTAG standard there are some blocks that are considered "special" and are not written to as part of the hf mfu restore. These include the locking and blocking bytes (parts of blocks 2 and 130) and the PWD and PACK (blocks 133 and 134). Amiibo also require blocks 3 (CC), 131 (CFG0) and 132 (CFG1) to be set to specific values.

The good news is that since we have the original amiibo we can grab most of the data we need from it and then write the data to blocks on the NTAG215 card using hf mfu wrbl. I found that these writes need to be done in a specific order to avoid bricking the NTAG215 card.
First up is block 3 or the Capability Container per the NTAG standard. Based on my testing this is always set to F110FFEE but verify with your amiibo first by running hf mfu rdbl b 3 with it on the reader. After verifying replace the amiibo with the NTAG215 card and run hf mfu wrbl b 3 d F110FFEE k FFFFFFFF. Swap out F110FFEE if need be.
[usb] pm3 --> hf mfu wrbl b 3 d F110FFEE k FFFFFFFF
Special Block: 3 (0x03) [ F1 10 FF EE ]
[+] isOk:01
Next we're going to write the PACK and PWD. If you didn't write these down earlier then run hf mfu pwdgen r with the NTAG215 on the reader to get their values again. The PACK will always be 8080 and the command is hf mfu wrbl b 134 d 80800000 k FFFFFFFF. To write the PWD the command is hf mfu wrbl b 133 d $PWD k FFFFFFFF making sure you swap out $PWD with the value from pwdgen.
[usb] pm3 --> hf mfu wrbl b 134 d 80800000 k FFFFFFFF
Block: 134 (0x86) [ 80 80 00 00 ]
[+] isOk:01
[usb] pm3 --> hf mfu wrbl b 133 d E4008B44 k FFFFFFFF
Block: 133 (0x85) [ E4 00 8B 44 ]
[+] isOk:01
The password for the card is now changed to the value of PWD so you will no longer be using the default password for the wrbl commands.
The next two blocks (131 and 132) also appear to have static values from my testing but you can verify on the amiibo itself using hf mfu rdbl b 131 and hf mfu rdbl b 132. The write commands for these blocks are hf mfu wrbl b 131 d 00000004 k $PWD and hf mfu wrbl b 132 d 5F000000 k $PWD respectively with the value of $PWD being the new password on the card you set earlier.
[usb] pm3 --> hf mfu wrbl b 131 d 00000004 k E4008B44
Block: 131 (0x83) [ 00 00 00 04 ]
[+] isOk:01
[usb] pm3 --> hf mfu wrbl b 132 d 5F000000 k E4008B44
Block: 132 (0x84) [ 5F 00 00 00 ]
[+] isOk:01
The final step is to lock the card which is required for it to be recognized as a valid amiibo. This step is irreversible so make sure all your other blocks are set correctly. The first block you're going to write to is block 2 but first you need to read since you'll need the first four bytes as a "prefix" of sorts for the lock bytes. Run hf mfu rdbl b 2 to get this info.
[usb] pm3 --> hf mfu rdbl b 2

Block#  | Data        | Ascii
-----------------------------
02/0x02 | 30 48 00 00 | 0H..
In this example the "prefix" is 3048. This "prefix" is then combined with the lock bytes of 0FE0. In this example block 2 would be 30480FE0 or if you're looking at the NTAG standard: "serial number + internal + lock bytes + lock bytes". Write this to the card using hf mfu wrbl b 2 d $prefix+0FE0 k $PWD.
[usb] pm3 --> hf mfu wrbl b 2 d 30480FE0 k E4008B44
Special Block: 2 (0x02) [ 30 48 0F E0 ]
[+] isOk:01
Finally you're going to write block 130 to fully lock the card. Based on my research this is always the same value but you can check on the amiibo if you want to be sure. After verifying run hf mfu wrbl b 130 d 01000FBD k $PWD.
[usb] pm3 --> hf mfu wrbl b 130 d 01000FBD k E4008B44
Block: 130 (0x82) [ 01 00 0F BD ]
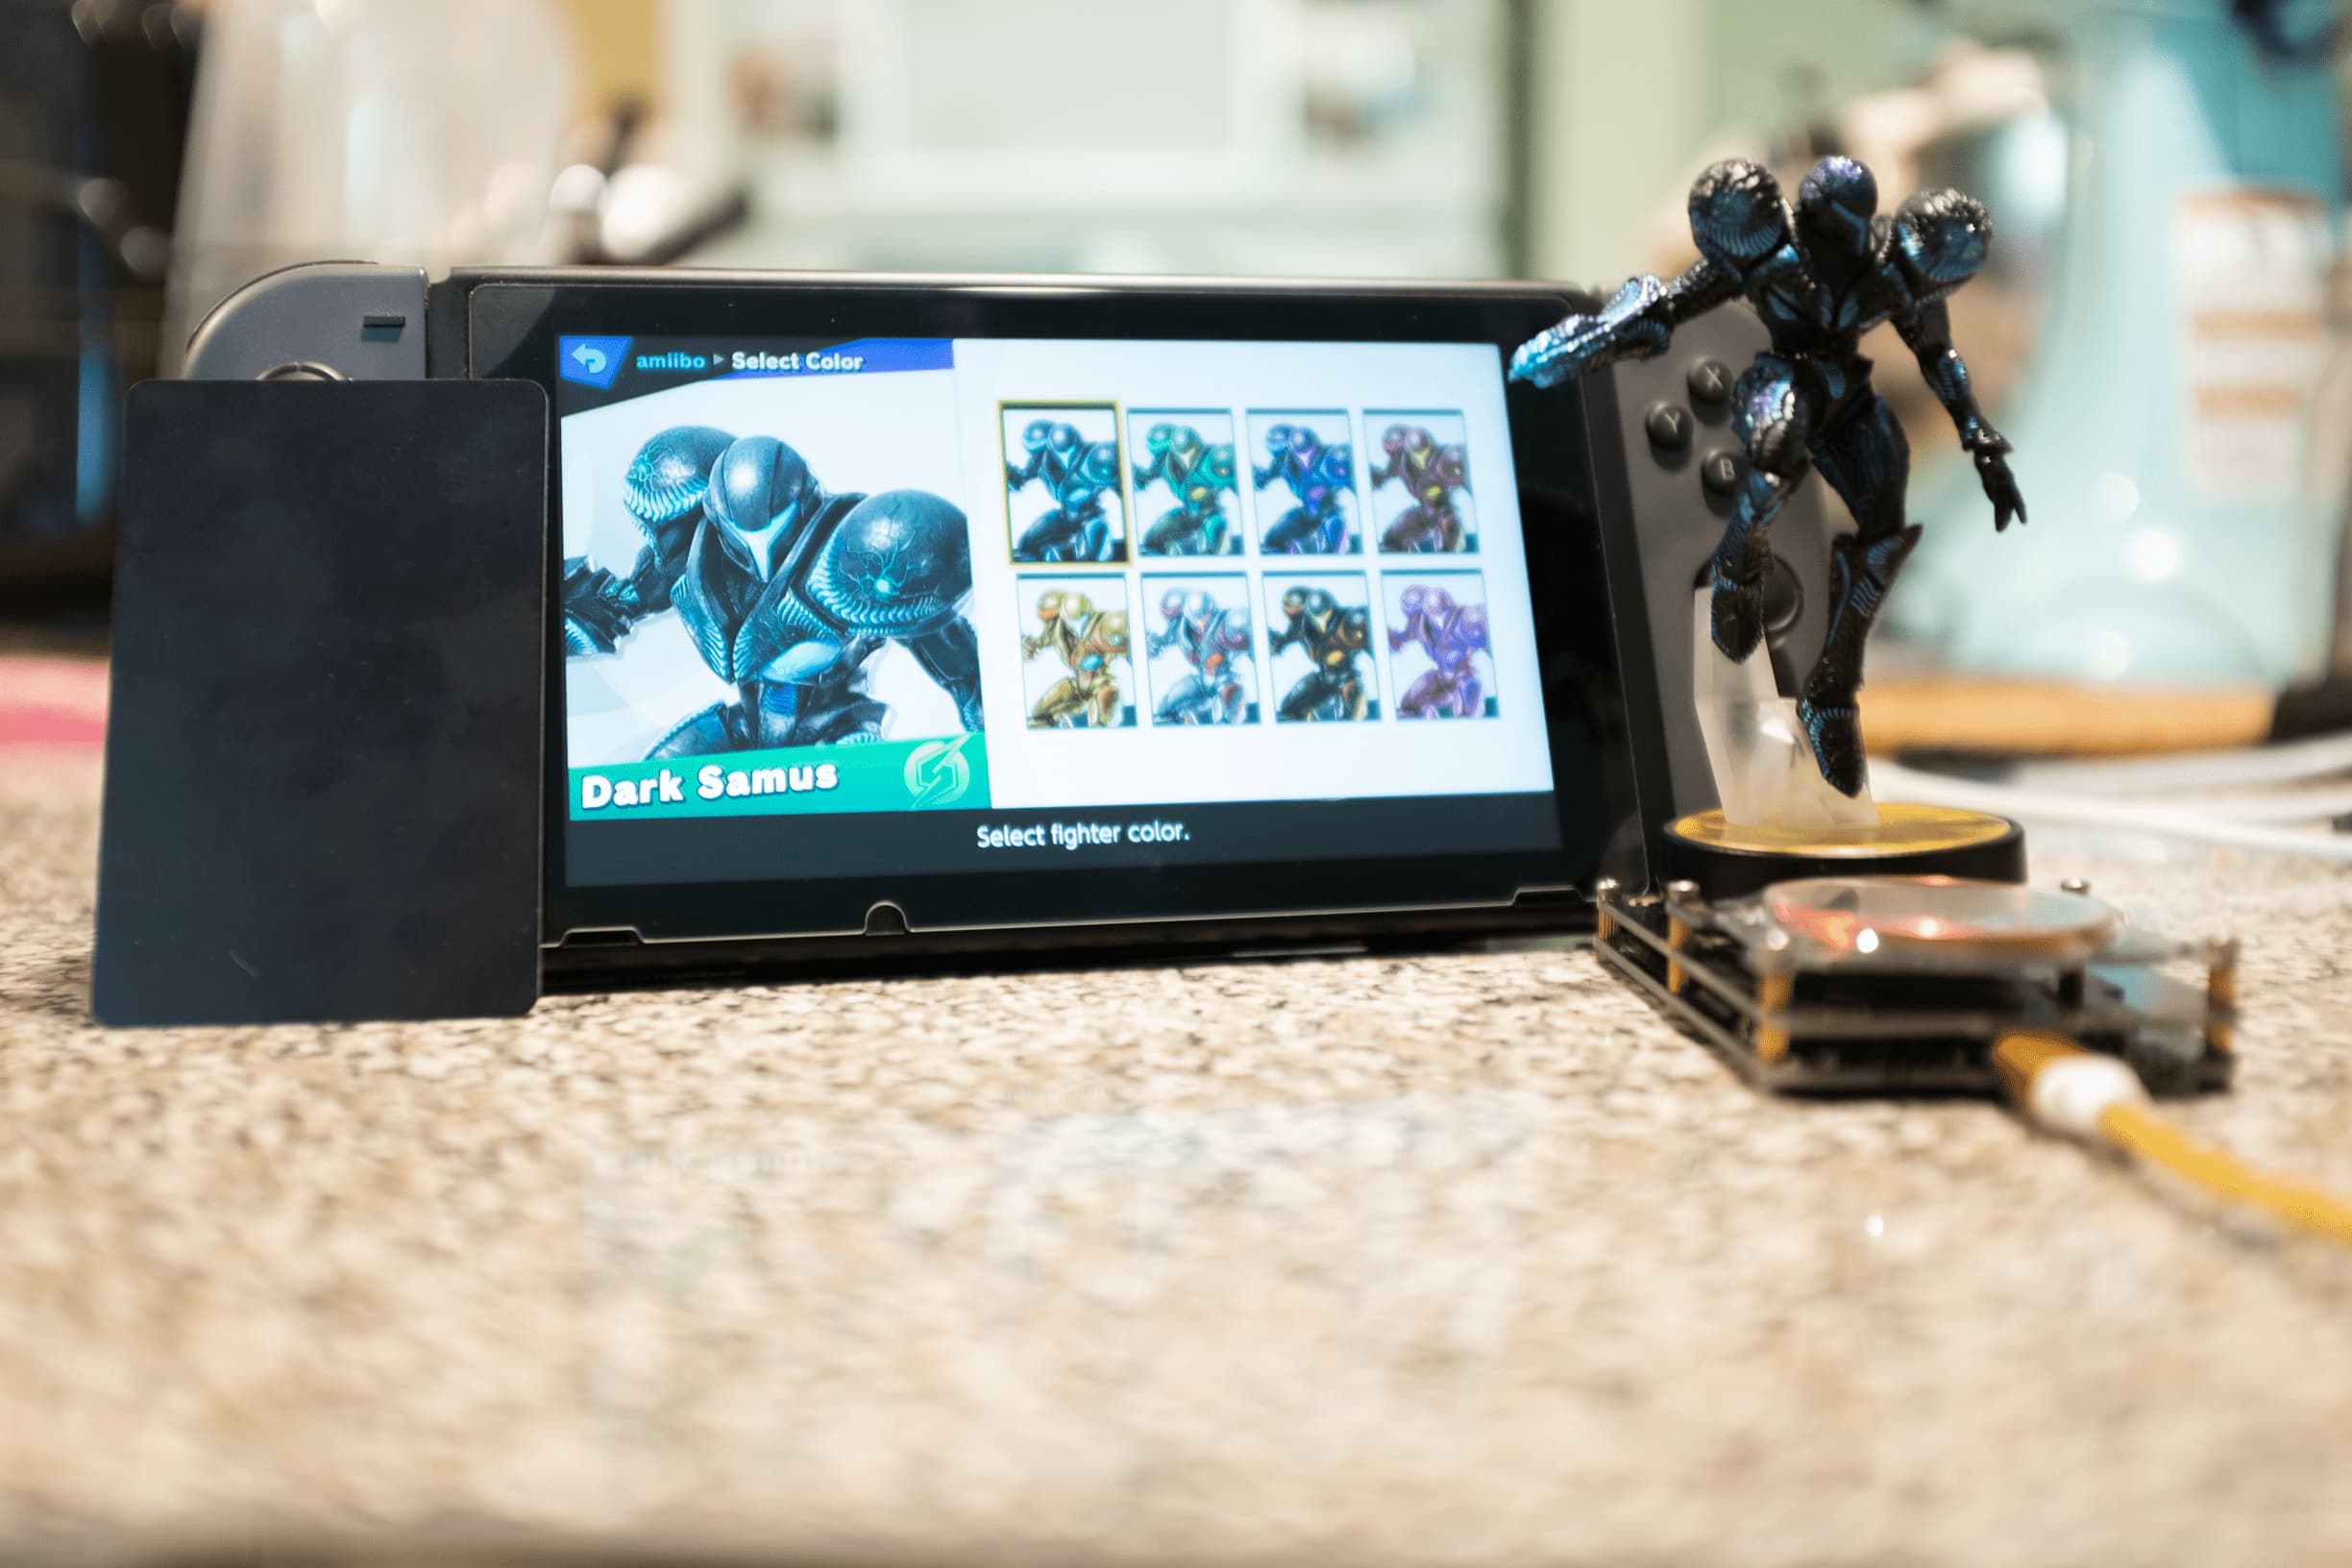
[+] isOk:01And with that you have a physical backup of your amiibo! Put it somewhere safe and give it a label so you know which one it is. I personally backed up my Dark Samus amiibo.
Rinse and repeat for your collection. Hopefully all the NTAG215 cards I bricked during this process can help out someone with both a Proxmark3 and a collection of Amiibo they want to back up.
If you run into an issue please leave a comment below and I'll see if I can help!